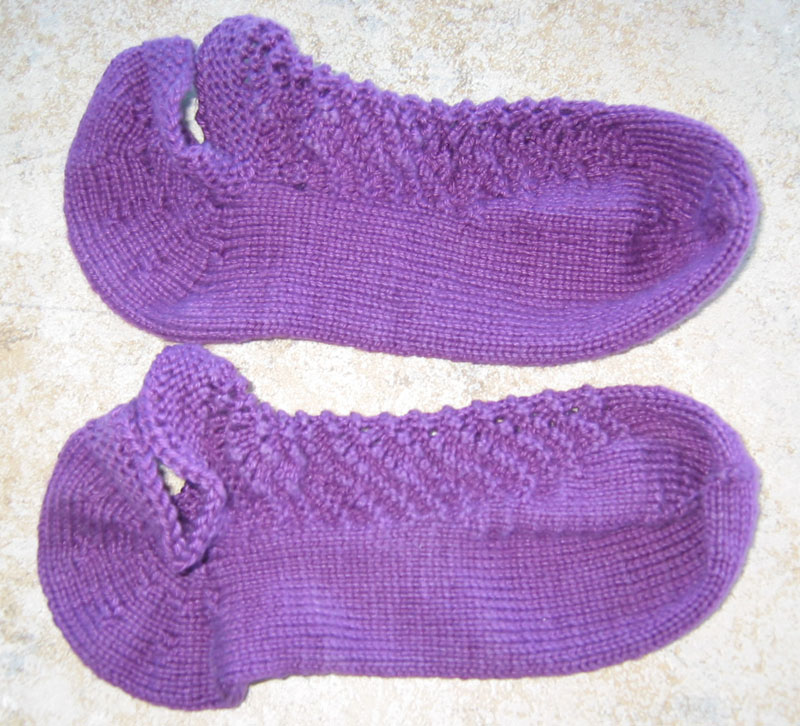
Finished Chevron Scarf and Matching Hat

I finished the hat to match the Chevron scarf during our snowstorm. I washed and blocked both the scarf and the hat. Since the hat is supposed to be a tam — I dried it over a large round platter:

ChevronHat2

However — once dried, the tam was too loose and too big!. So I dunked it in some water and threw it in the dryer — it’s made of superwash sock yarn. And I ended up with:

ChevronHat1

Which — when placed on the head, looks like a basic beanie hat with two-color chevron stripes. Not what I envisioned — but still a nice result. Now I need to wrap the scarf and hat and get it mailed off.

Related Post

WIP: Clapotis Scarf in Jaggerspun ZephyrWIP: Clapotis Scarf in Jaggerspun Zephyr

I have started another project even though I have at least two others on needles. I just got the itch to knit the Clapotis Scarf pattern along with some of the other members of my knitting guild. It took me a bit of time to decide to join the knit-along, because I wanted to use yarn from my stash rather than buy yarn for this project. I finally settled on the Jaggerspun Zephyr lace weight yarn I had left over from a lace scarf I knit for my DD a couple of years ago. This yarn is 50% fine grade merino wool and 50% Chinese Tussah silk in 2/18 Lace Weight. The colorway is Teal. I am using size US 4 (3.5 mm) needles.

This scarf is knit by starting at one point of a parallelogram and increasing stitches until you reach the desired width of the scarf. Then you knit a series of straight row sections until you have your desired length and then you decrease stitches until you reach the far corner of the scarf. Along the way, you drop stitches to create an open pattern between rows of stockinette stitches.
So far, I have knitted the increase section to the point where I will begin the straight rows and start dropping stitches. Here’s a picture:

The Clapotis pattern is free on Knitty.com. Here’s a link to the pattern: Clapotis Pattern

Master Hand KnitterMaster Hand Knitter

2025 was a year of focused effort toward completing the Master Hand Knitter certification program curated by The Knitting Guild Association (TKGA.org). TKGA is a group of highly experienced knitters who work to help others learn and improve their knitting through various correspondence courses, certification programs, online conferences, in-person conferences and online reference materials. They publish an online magazine, Cast On, quarterly. A yearly membership is $35 and is well worth the price – giving you access to a wide range of resources and expertise.
The Master Hand Knitter certification program is a guided mastery learning program. One achieves mastery through a guided self-study process that includes improving various techniques through practice, learning to research and judge your work and applying new skills. You submit your work and it is reviewed by a group of Master Hand Knitters. You receive a written evaluation of your work along with suggestions on how to improve your work where it did not meet their standards for proficiency.

There are three levels in the program:
Level 1 focuses on basic skills such as determining gauge, making increases and decreases, and knitting some basic stitch patterns.
Level 2 focuses on finishing techniques. It covers different cast ons and bind offs and different methods for seaming and finishing.
Level 3 focuses on designing knitwear and pattern writing. Includes work on advanced techniques such as double knitting, entrelac, brioche, slip stitch and mosaic patterns.
Each level includes completing at least one project demonstrating the skills covered in the level.


This program is a journey – not a race. But it was, for me, a wonderful learning experience and a proud accomplishment. I achieved my certification as a Master Hand Knitter in August 2025.

Long Tail Cast OnLong Tail Cast On

The Long-Tail Cast On is one of the most common and popular cast ons. It is an all purpose cast on that gives an attractive and elastic edge and works in almost every type of project. Because of its structure, this cast on creates the first row of your knitting – which is usually considered the wrong side of the work for stockinette stitch.

As the name implies it starts with a long tail – which can be a challenge for a knitter to figure out how long to make the tail before you start making stitches on your needle. A general rule of thumb for this length is 3 times the length you need to form the number of stitches to cast on. Some knitters wrap the yarn around the needle the number of times that equals the number of stitches. I’ve used both methods and both work fairly well.

The cast on starts with a slip stitch (some knitters omit this step). You then form a “slingshot” by holding the needle in your right hand and using the thumb and forefinger of your left hand so that one of the two strands wraps around the thumb and the other wraps around the forefinger, forming a “Y”. The tail strand should go over the thumb and the working yarn should go over the forefinger.

To form a new stitch, put the needle under and into the loop on the thumb, then go over the yarn on the forefinger and bring the strand through the thumb loop. Drop the yarn off the thumb and gently tighten the loop on the needle. Repeat until you have the desired number of stitches.

There are several variations of this cast on. I have included a link for the Alternating Long Tail Cast on, which provides a way to alternate knit and purl stitches for a ribbing and gives a moderately elastic edge.

Everything About the Long-Tail Cast On

Long-Tail Cast On in Pattern – Alternating Long-Tail CO